How to Get Plexiglass Cut to Size for Your Projects and DIY Ideas
When embarking on a DIY project, one of the most crucial components is selecting the right materials, and for many, plexiglass is a preferred choice due to its versatility and durability. As noted by industry expert Dr. Lydia Carter, "The ability to have plexiglass cut to size allows for a level of customization that transforms ordinary projects into masterpieces." In essence, plexiglass cut to size is not just a service; it is a gateway to unleashing creativity across various applications, from crafting to home improvement.
Understanding how to get plexiglass cut to size can significantly enhance the outcome of your projects. Whether you're designing a protective barrier, creating artistic displays, or constructing functional surfaces, knowing the methods and options available for customized plexiglass can make all the difference. Following the right steps and tips will ensure that your finished product meets your specific measurements and aesthetic desires, allowing your ideas to take shape seamlessly.
In this guide, we will explore the best practices for obtaining plexiglass cut to size, including key considerations when measuring, selecting service providers, and adding finishing touches to your customized pieces. With the right approach, you can achieve professional-quality results that elevate your DIY endeavors.
Understanding Plexiglass: Types and Properties for Your Projects
Plexiglass, also known as acrylic, is renowned for its versatility and clarity, making it an excellent choice for a variety of projects. Understanding the types of plexiglass available is crucial for selecting the right material for your specific needs. Generally, there are two primary types:
cast acrylic and extruded acrylic.
 Cast acrylic, though usually more expensive, offers superior optical clarity and scratch resistance, making it ideal for applications such as display cases and signage. According to a report by Grand View Research, the global acrylic sheets market is expected to reach $7.14 billion by 2025, reflecting the growing demand across diverse industries.
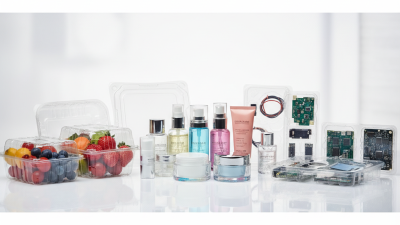
In addition to its types, plexiglass boasts several intrinsic properties that enhance its usability. Its lightweight nature, combined with a high degree of impact resistance—approximately 10 to 20 times greater than that of glass—makes it a safer alternative for various projects. Furthermore, plexiglass has exceptional weather resistance, making it suitable for both indoor and outdoor applications. Industry data indicates that nearly 60% of acrylic sheet demand comes from the construction and architecture sectors, highlighting the practicality of this material for various DIY ideas. Understanding these properties enables DIY enthusiasts to make informed decisions while maximizing the benefits of plexiglass in their projects.
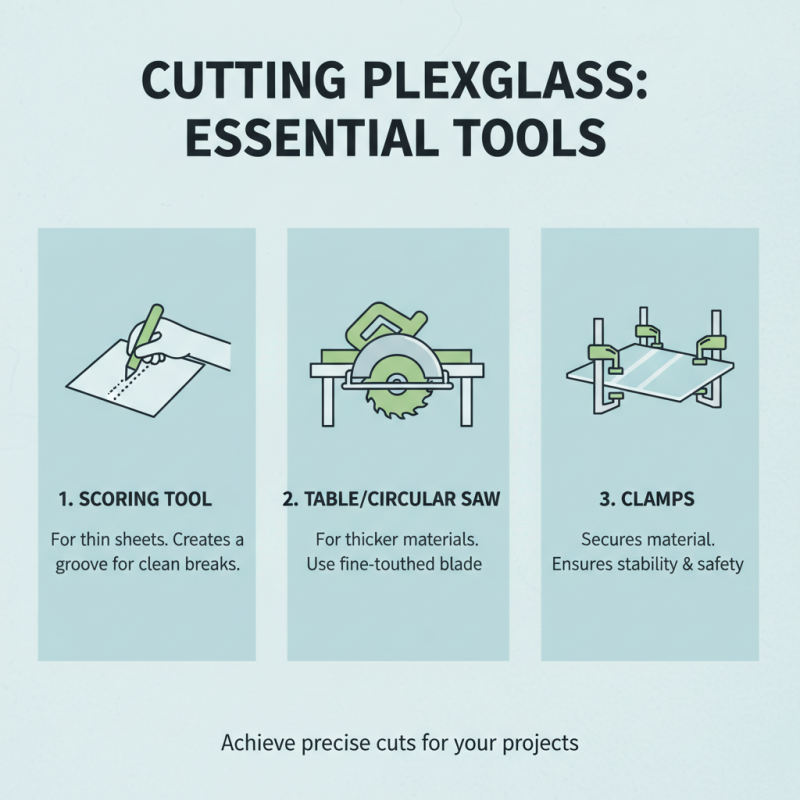
Tools Needed for Cutting Plexiglass to Size Effectively
When it comes to cutting plexiglass to size for your projects, having the right tools is crucial for achieving clean, precise cuts. Firstly, you’ll need a scoring tool specifically designed for plexiglass, which is ideal for thin sheets. For thicker materials, a table saw or circular saw fitted with a fine-toothed blade will provide the best results. It's also advisable to use clamps to secure the plexiglass in place while cutting, ensuring safety and stability during the process.
Tips: Always wear protective eyewear when working with plexiglass to shield your eyes from flying shards. Additionally, consider using painter's tape on the cutting line to reduce chipping. A straightedge can help guide your cuts for more accuracy. For smoother edges, sanding with fine-grit sandpaper can finish the job nicely.
If you’re using a jigsaw or a band saw, fine-toothed blades are important to minimize splintering and to create a smooth finish. Ensure the blade speed is appropriate—too fast can melt the plexiglass, while too slow may lead to rough cuts. With the right tools and techniques, you can effectively tailor plexiglass to suit your DIY ideas, enhancing both functionality and aesthetics in your projects.
Step-by-Step Guide to Measuring and Marking Plexiglass
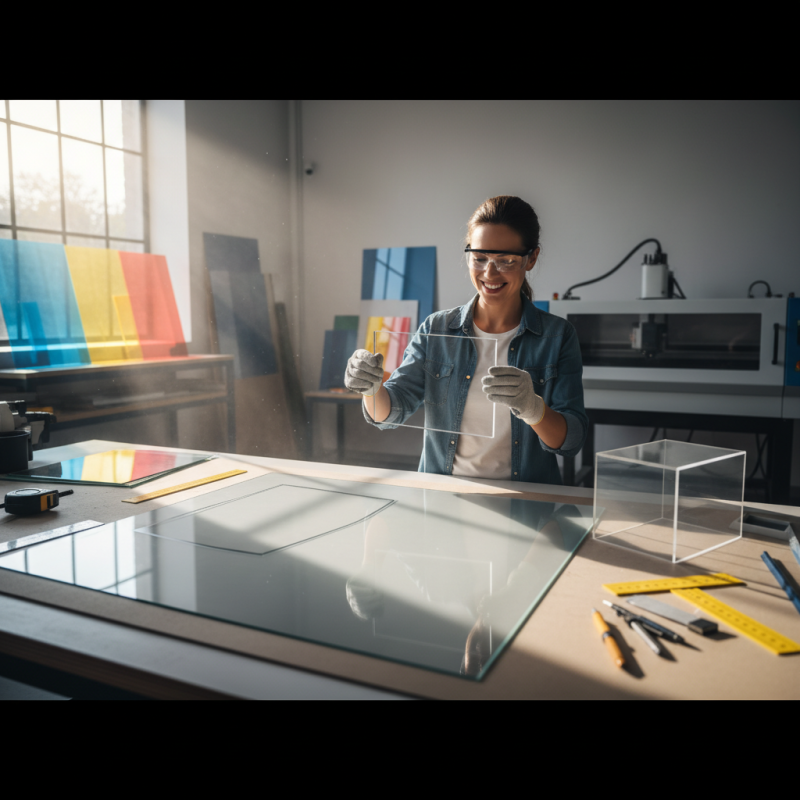
Measuring and marking plexiglass accurately is crucial for achieving precise cuts in your DIY projects. To begin, you'll need a reliable measuring tool, such as a tape measure or a ruler. According to the American Society of Plastic Engineers, achieving precision within 1/16 of an inch can significantly enhance the quality of your finished product. First, determine the dimensions needed for your project and mark them clearly on the plexiglass surface with a grease pencil or a fine-tip marker, ensuring the lines are visible but not too obtrusive.
Next, it's important to consider the thickness of the plexiglass when marking and preparing for cutting. Industry reports indicate that common thicknesses range from 1/16 to 1/2 inch, each requiring different cutting techniques and tools. For thinner sheets, a utility knife can often suffice, while thicker pieces may necessitate specialized saws or blades to achieve clean edges. Ensure that you secure the plexiglass firmly to prevent movement during the cutting process, as this can lead to inaccurate cuts. With careful measuring and marking, you can successfully cut plexiglass to size, paving the way for a variety of creative and functional projects.
Plexiglass Thickness Measurement for DIY Projects
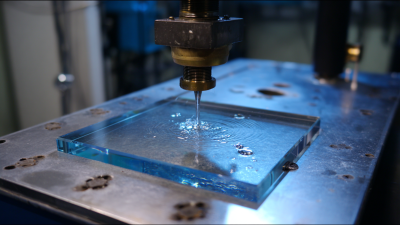
Techniques for Cutting Plexiglass: Methods and Best Practices
Cutting plexiglass can seem daunting, but with the right techniques and best practices, it can be a straightforward process. One effective method is using a scoring technique, where a sharp utility knife is used to create a shallow score line on the surface. This technique requires a steady hand and equal pressure throughout the cut. Industry reports indicate that using a thickness of 1/8 inch or less is ideal for this method, as thicker plexiglass can break unevenly. Using clamps to secure the sheet can help prevent movement and ensure a cleaner cut.
For larger or thicker sheets of plexiglass, power tools such as jigsaws or circular saws equipped with fine-toothed blades are recommended. According to the Plastics Industry Association, a fine-toothed blade minimizes chipping and cracking, preserving the integrity of the material. Using a slower speed during cutting allows for more control and better outcomes. Additionally, it is advisable to apply masking tape along the cutting line to reduce fraying, which can be especially beneficial when cutting plexiglass sheets over 1/4 inch in thickness. Adopting these techniques can significantly enhance the precision and quality of your DIY projects involving plexiglass.
How to Get Plexiglass Cut to Size for Your Projects and DIY Ideas - Techniques for Cutting Plexiglass: Methods and Best Practices
| Method |
Tools Required |
Step-by-Step Process |
Best Practices |
| Scoring and Snapping |
Utility knife, straight edge |
1. Measure and mark the cut line.
2. Score along the line with a utility knife.
3. Snap the plexiglass along the score. |
Use consistent pressure while scoring for a cleaner snap. |
| Circular Saw |
Circular saw, fine-tooth blade |
1. Secure the plexiglass on a stable surface.
2. Adjust the saw depth to just cut through the plexiglass.
3. Cut along the marked line. |
Use a slower feed rate to avoid melting the material. |
| Jigsaw |
Jigsaw, fine-tooth blade |
1. Mark the cut line clearly.
2. Use clamps to secure the sheet.
3. Slowly guide the jigsaw along the line. |
Keep the jigsaw speed low to prevent melting. |
| Laser Cutting |
Laser cutter |
1. Input the design into the laser cutter software.
2. Place the plexiglass in the cutter.
3. Start the cut according to the software settings. |
Ensure proper ventilation when cutting to avoid fumes. |
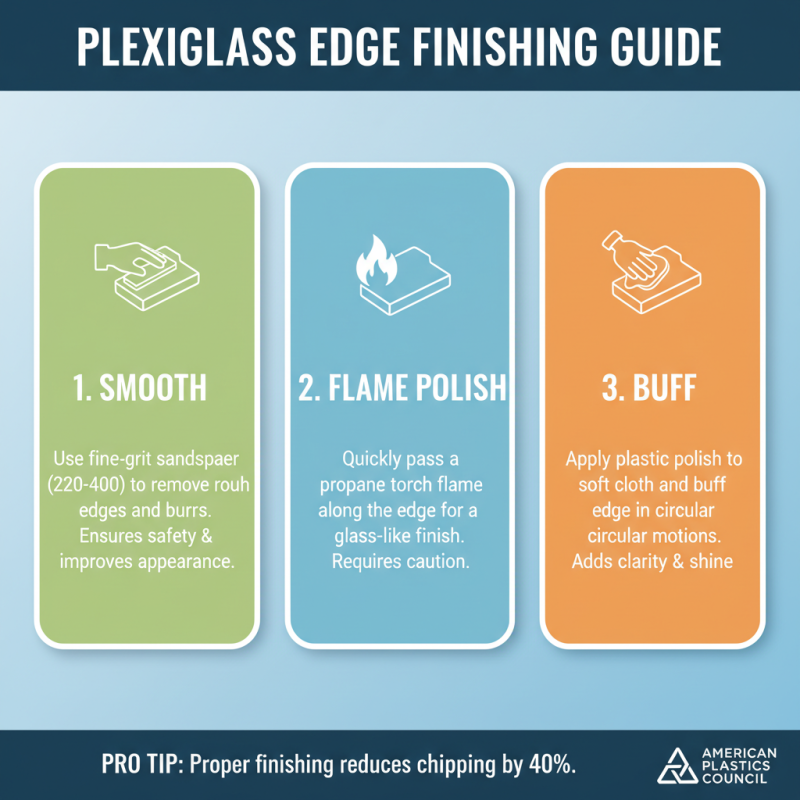
Finishing Edges and Sealing Plexiglass for a Professional Look
When working with plexiglass, achieving a professional finish is essential for both aesthetics and durability. A detailed report from the American Plastics Council indicates that properly finished edges can significantly increase the lifespan of plexiglass installations—reducing chipping and cracking by as much as 40%. To begin the finishing process, use a fine-grit sandpaper to smooth out any rough edges after cutting. This step ensures that the edges are free from jaggedness, which not only improves the look but also makes it safer to handle.
Sealing the edges is another crucial step that cannot be overlooked. Utilizing clear acrylic caulk or specific adhesives designed for plexiglass can provide additional protection against moisture and environmental damage. According to industry research, sealed edges can prolong the life of plexiglass by up to 30%, especially in applications exposed to outdoor elements. For a polished finish, consider using a plastic polish to buff the edges once sealed, giving your project that professional touch while enhancing clarity and shine. Emphasizing these finishing techniques will ensure that your plexiglass projects stand out and resist wear over time.